

Our SSL Names feature allows account admins to add a domain name to nuu:bit's Shared SSL certificate.
The current article provides instructions on how to add a new protected domain name via our SSL Names feature. Please note that you will need to verify domain control by using on of the listed verification methods:
In case that you would like to add a Private SSL certificate, please visit the following page for instructions - How To Provision The nuu:bit Service With An SSL Certificate. Private SSL uses your domain name, and respectively the Private SSL connection goes directly through your domain name. Regardless of whether you are using our SSL Names feature or a Private SSL certificate, the data transmitted to your website will be encrypted (as long as end users are using "https://" protocol prefix to access your website).
You can add a new SSL Name using the following procedure:
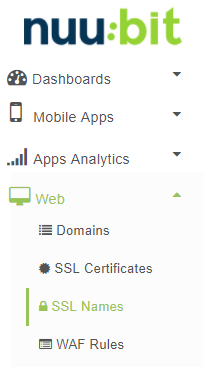
1. Select Web -> SSL Names.
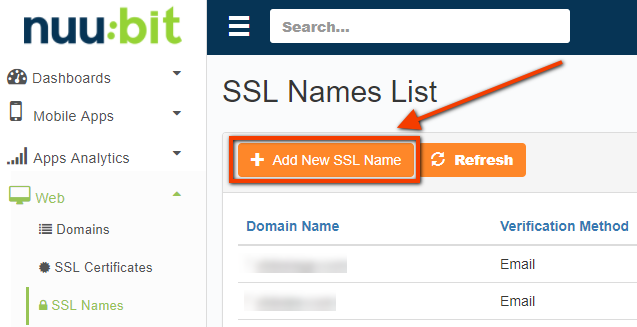
2. Click the orange Add New SSL Name button.
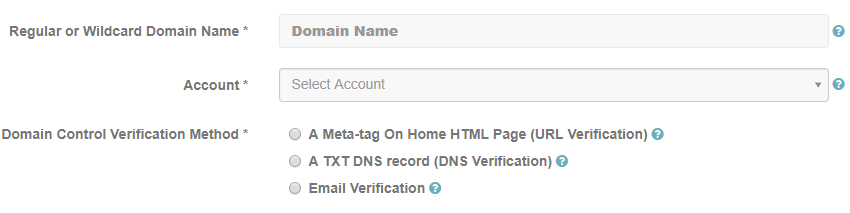
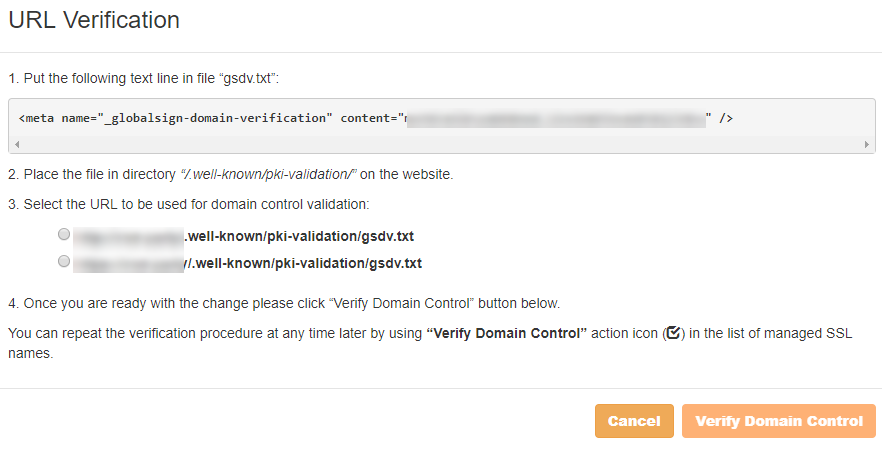
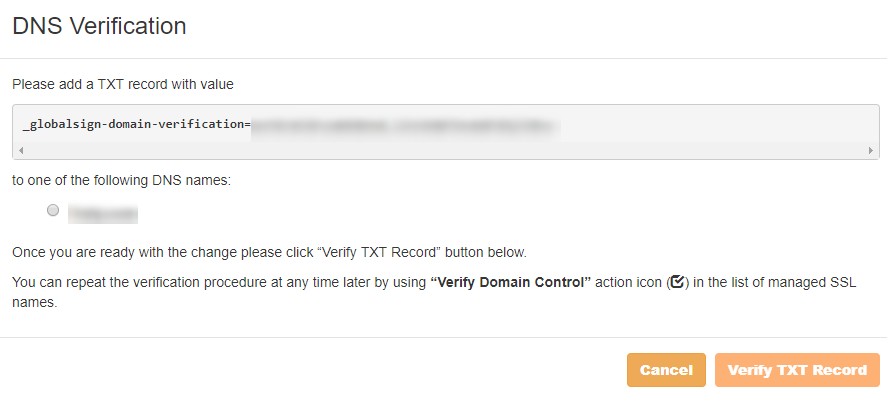
3. Enter a regular (like www.example.com) or a wildcard (like **.example.com) Domain Name, select an account name the SSL name should be associated with, and then choose a domain control verification method.
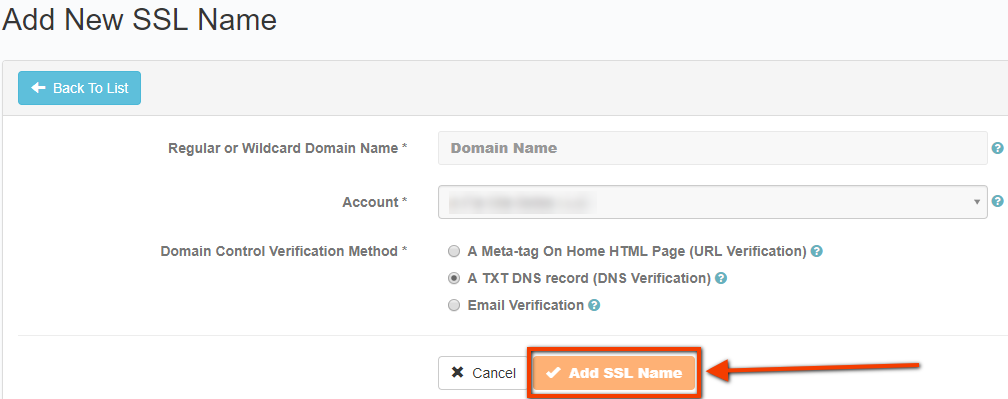
4. Click the orange Add SSL Name button.
5. Click the Verify Domain Control icon, and then verify domain control.

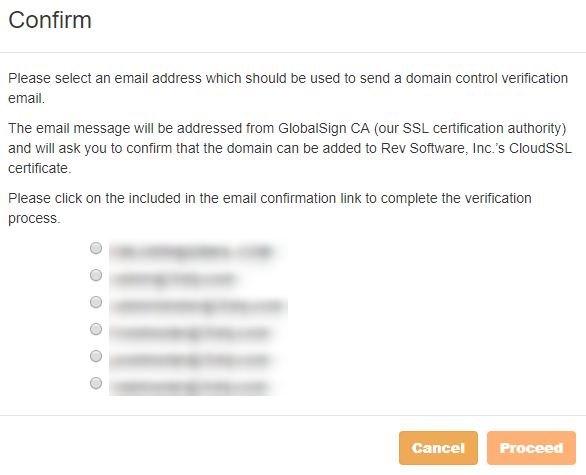
You will see one of the listed Domain Verification pop-ups depending on the domain control verification method that you have chosen in step 3. Please follow the instructions provided in the pop-up modal to verify domain control.
Email Verification
0 Comments