

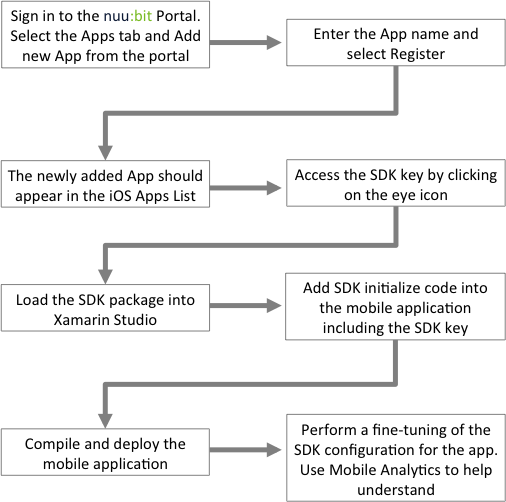
The goal of this document is for the user to get the nuu:bit Xamarin SDK functional quickly. The figure below is a high-level diagram of the workflow:
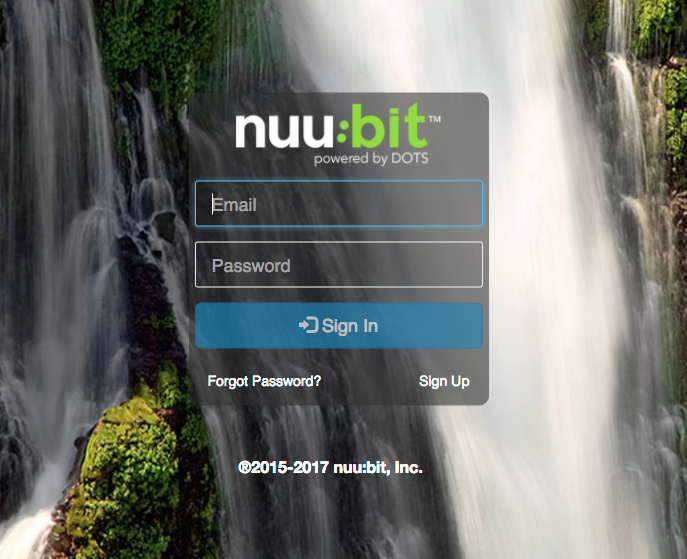
Step 1 - Sign in to the nuu:bit portal (https://portal.nuubit.net/) using your existing nuu:bit portal credentials.
Step 2 - Select the "Mobile Apps" tab from the top of the portal page. Choose the operating system from the left of the column (currently only iOS SDK is provided/supported, Android support will be available in April 2017).
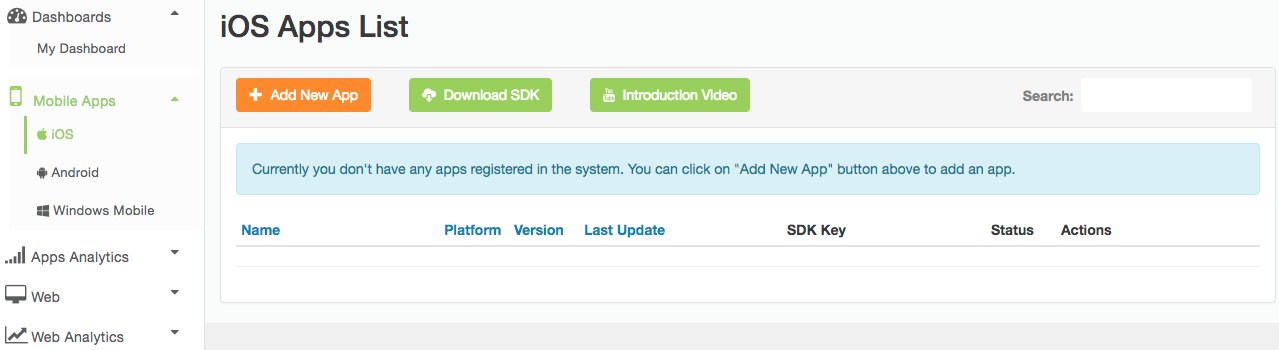
Step 3 - Select Add new app button:

Step 4 - Enter the App name - in this example below, the App is called “MyExampleApp”:
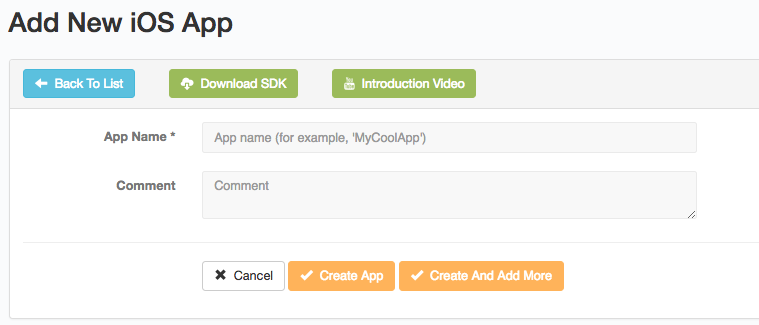
Step 5 - Once the App is registered on the nuu:bit Platform, use the “Create App” button.

Step 6 - The newly added App should appear in the iOS Apps List.
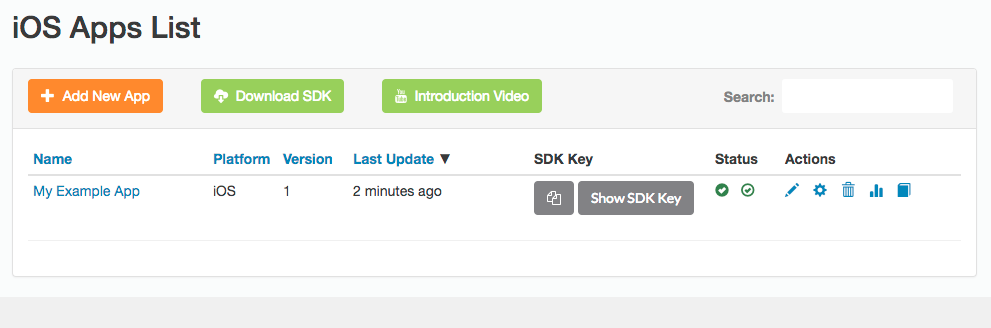
Step 7 - Access the SDK key by clicking on the eye icon. This will reveal the SDK key that will be used in the mobile App to initialize the nuu:bit SDK code.
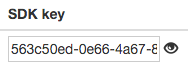
563c50ed-0e66-4a67-871d-1114b848bbb
Step 8 - Download "nuubit.SDK" NuGet package from nuget.org or run the following command in the Package Manager Console:
Install-Package nuubit.SDK
Additionally the SDK can be downloaded from the Xamarin Component Store and addede to your Xamarin.iOS project.
References to 3 assemblies will be added: iOSnuu:bit.dll, nuu:bit.dll, RevSDK.dll.
Step 9 - Add "NuubitSDK" namespace in AppDelegate.cs in Xamarin iOS application code
using Nuubit.SDK;
Step 10 - Insert initialization for nuu:bit SDK to AppDelegate.cs FinishedLaunching method:
[Register("AppDelegate")]
   public partial class AppDelegate : UIApplicationDelegate

   {
       public override bool FinishedLaunching(UIApplication app, NSDictionary options)

       {
           RevSDK.StartWithSDKKey("put here the SDK key from Step 7");
       }
   }
}
Step 11 - Add "Nuubit.SDK" namespace to shared AppDelegate.cs file:
using Nuubit.SDK;
Step 12 - Create instance of NuubitMessageHandler and use it for creating HttpClient:
var customMessageHandler = new NuubitMessageHandler();
var client = new HttpClient(customMessageHandler);
Step 13 - Now you can send requests via the client.
Example:
// register a new client using the nuu:bit SDK
var customMessageHandler = new NuubitMessageHandler();
var client = new HttpClient(customMessageHandler);


// prepare the details of new request
HttpRequestMessage message = new HttpRequestMessage();
message.Method = new HttpMethod("GET");
message.RequestUri = new Uri("https://www.xamarin.com");


// Send the request via the nuu:bit SDK
var response = await client.SendAsync(message);
Step 16 - Compile and deploy the mobile application.
Step 17 (Optional) - Perform a fine-tuning of the SDK configuration for the app. Please see “SDK Configuration Guide” for details.
Step 18 - Use the “Apps Analytics” section in the nuu:bit customer portal to analyze the app data transfers and user base parameters.
0 Comments